Several months ago I did a simple diy inspiration board on the blog which looked like the picture below. Recently I got sick of it and felt like I needed more order so I had an idea to improve this design and make it into a honeycomb pattern.
You can see I have more room to pin things and it almost frames my memorabilia a lot better than the old design. I love it! Here's how I did it.
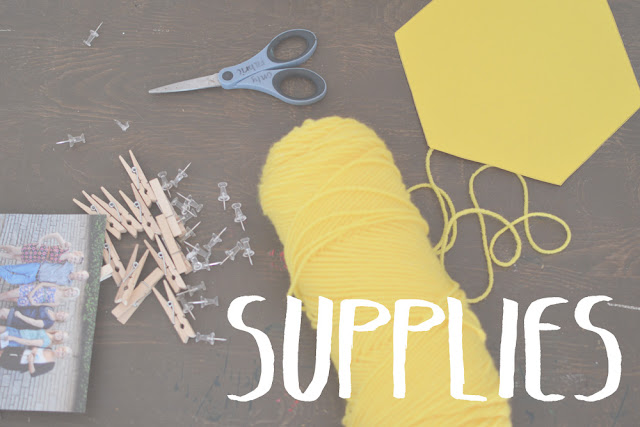
Supplies: Yarn, pencil, scissors, small clothes pins, clear tacs, memories and a paper template of a hexagon or honeycomb shape.
I started by placing the template I drew and cut out myself on the wall and marking with a pencil the corners of the shape with tiny dots. I lined up the template to my like to add several more honey comb shapes to the wall. I then inserted the tacs in each small pencil mark and tied a very long piece of yellow yarn to the first tac closest to one end of the design. The the fun part! I began wrapping the yarn around the tacs and connecting the dots! I did a second wrapping around them to make the design stick out more.
If you get confused about any part of this post on how to... check the link to the simple design at the top of this post for clear images and instructions.
I am headed to the smokeys for Easter this weekend and will be back on monday with an oh so special blog post for april!


brilliant
ReplyDelete